pokepath.io Community Best Team Builds
Hi everyone, this is POKEPATH.IO. We created this page to maintain a high-quality collection of PokéPath team builds for all players to reference. If you have unique ideas or improved strategies for any route, feel free to submit them via Contact Us. Even for the same route, as long as you have a good reason (e.g., using a different playstyle or strategy), we welcome your submission! As more players contribute, we plan to expand with more specialized build pages (e.g., Farm Builds, Challenge Mode Builds, etc.).
📝 Submission Format
Send us your team build with the following information:
- Route: e.g., Route 1-2
- Strategy: Brief description of your approach (feel free to add your own comments, as long as they're reasonable, haha)
- Screenshot: Game screenshot showing your team and positioning
- Your Name/Alias: How you want to be credited
Quick Navigation
Farming Navigation
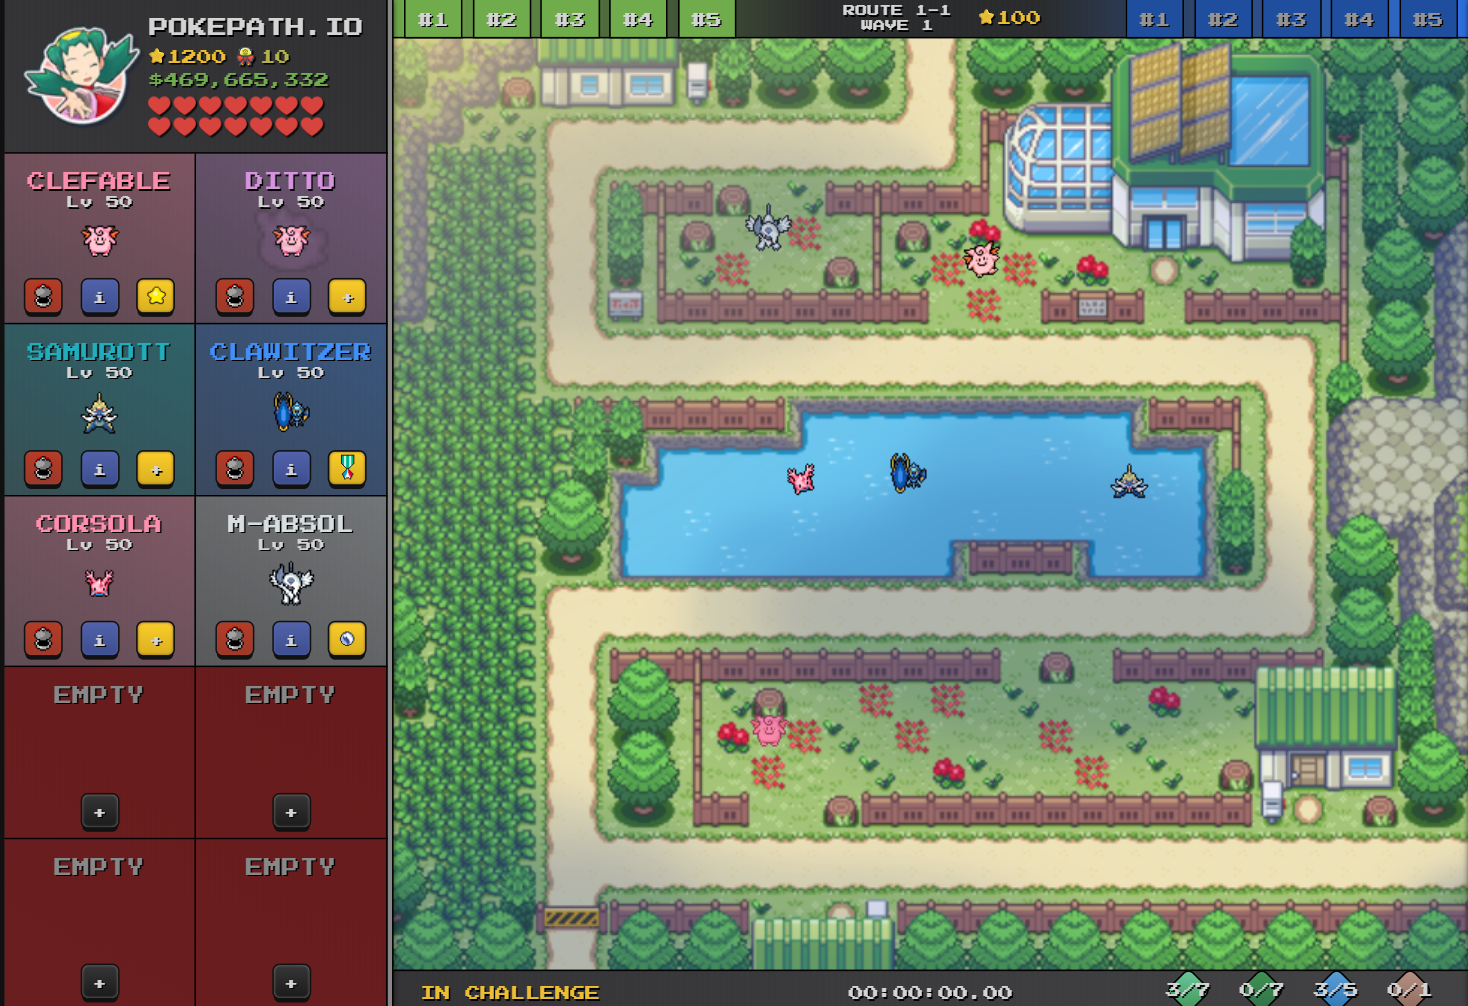
Route 1-1
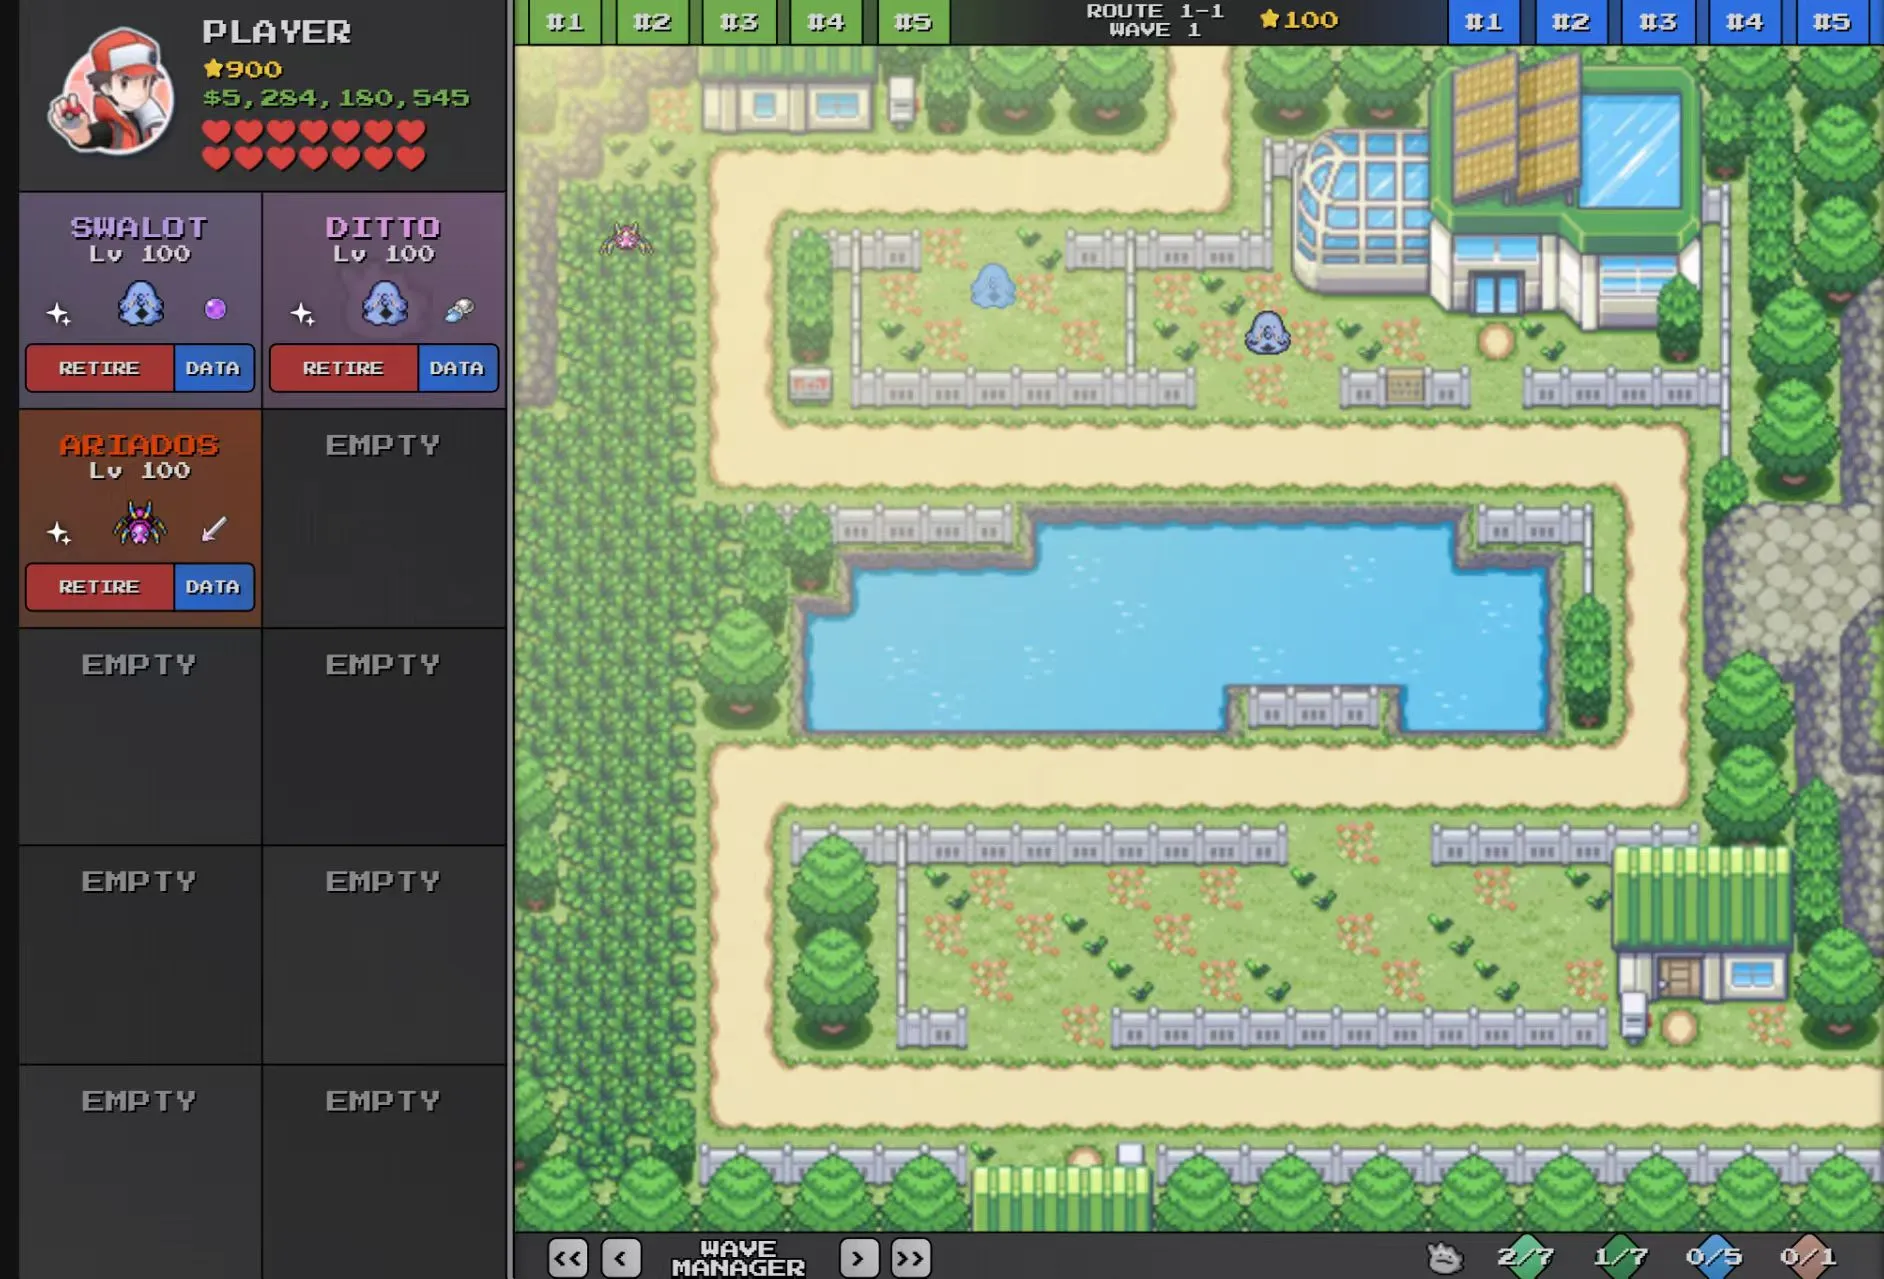
Pre-Boss Team (Waves 1-99)
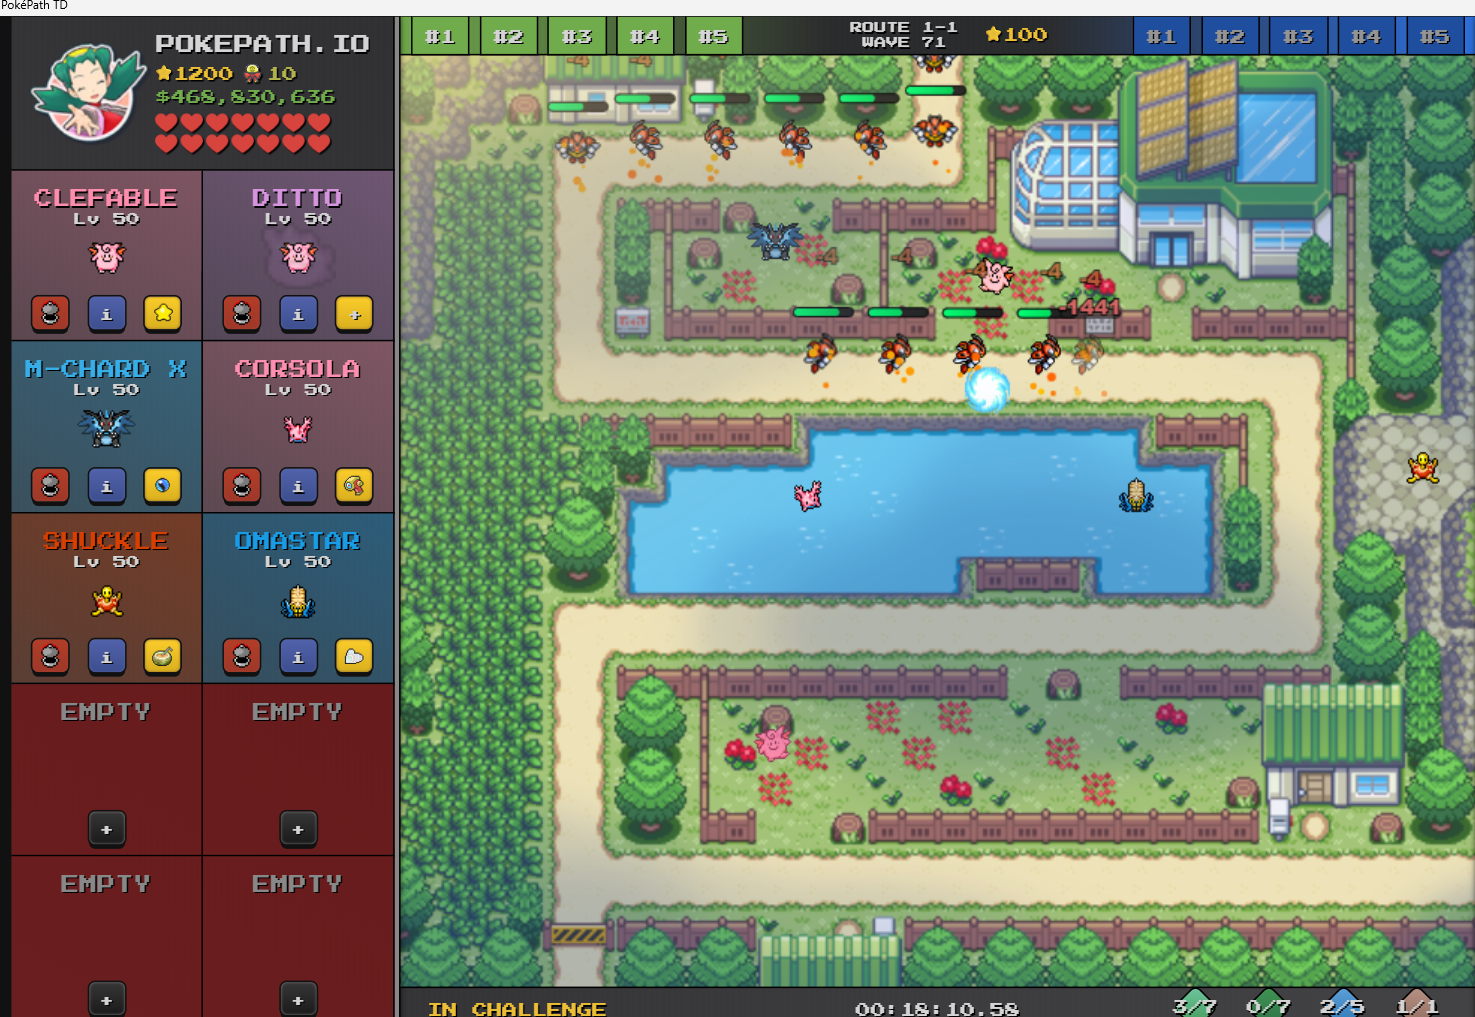
Boss Team (Wave 100)
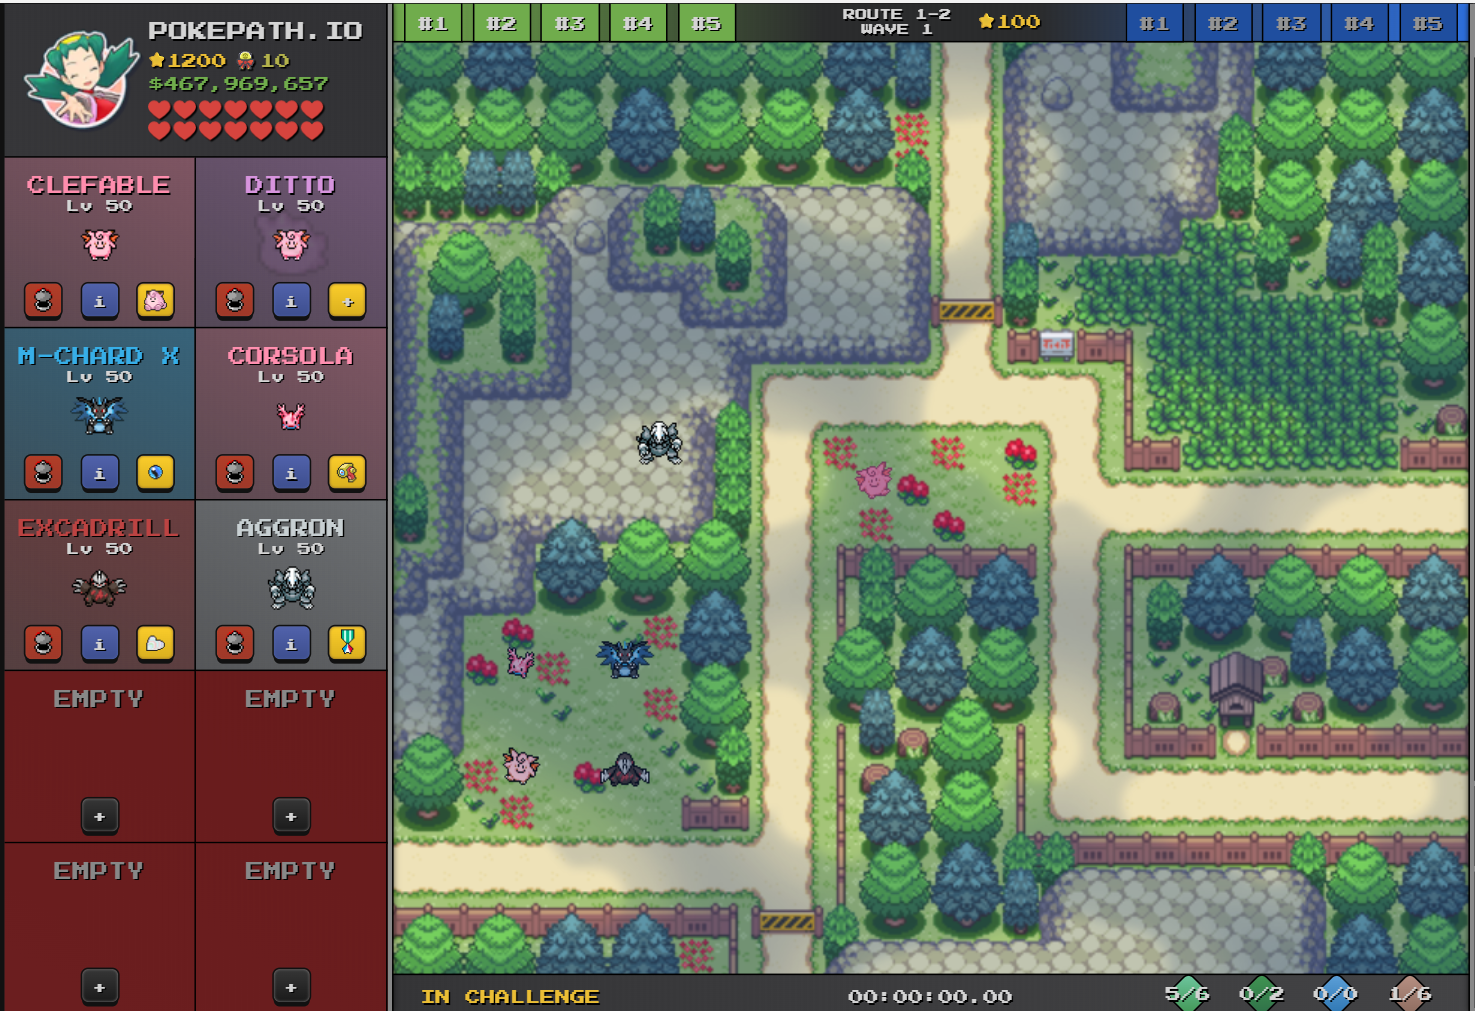
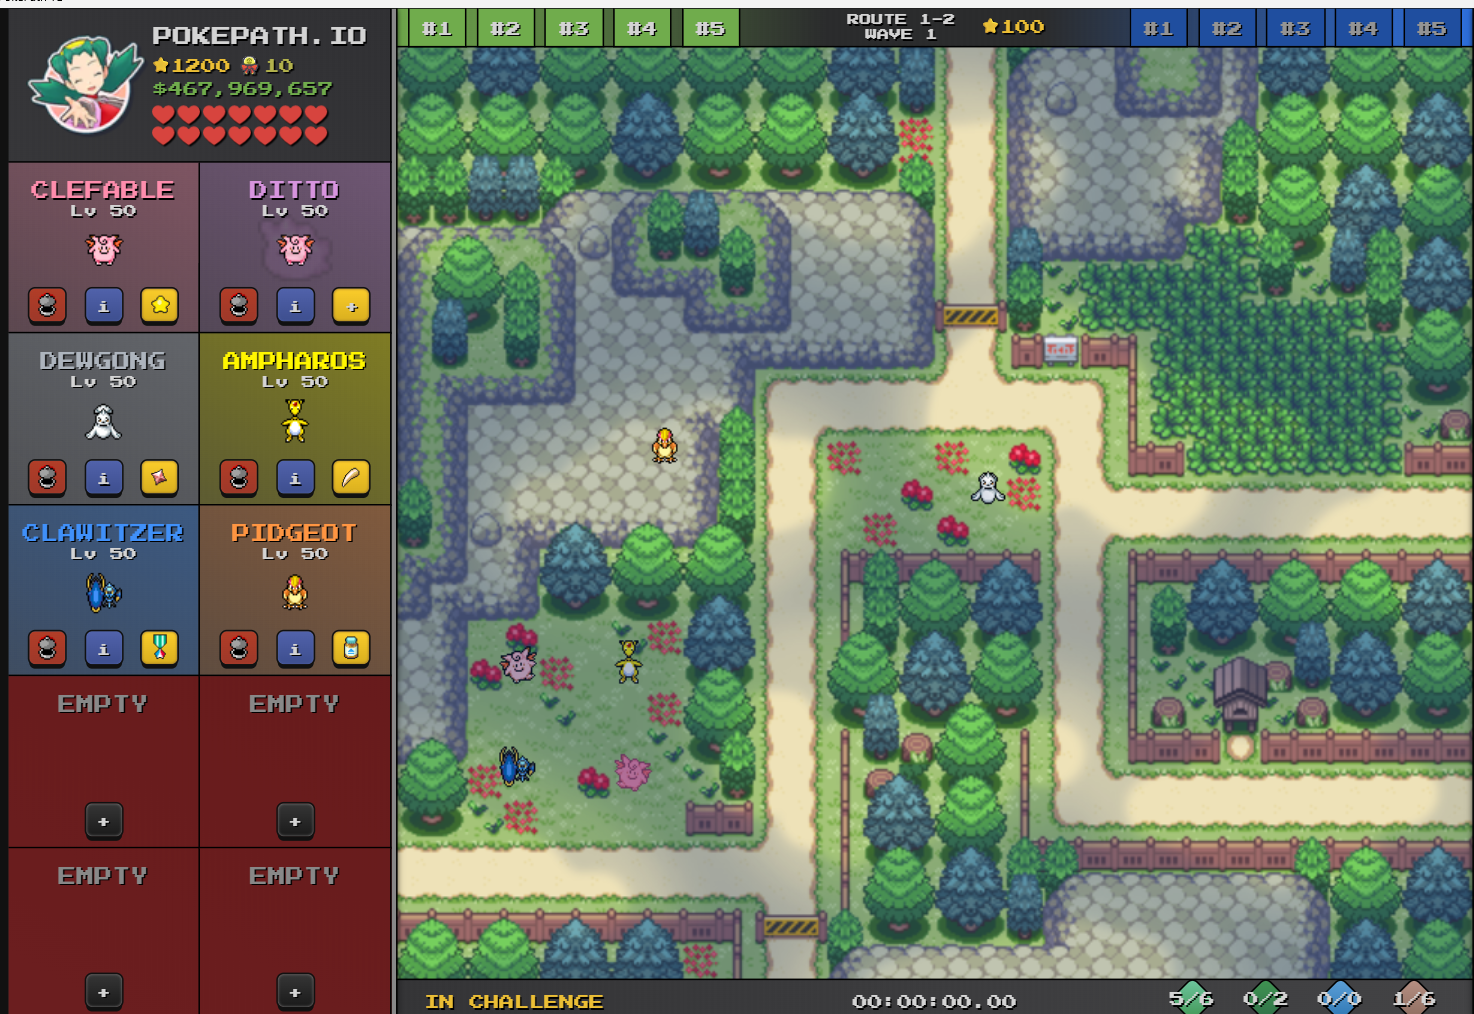
Route 1-2
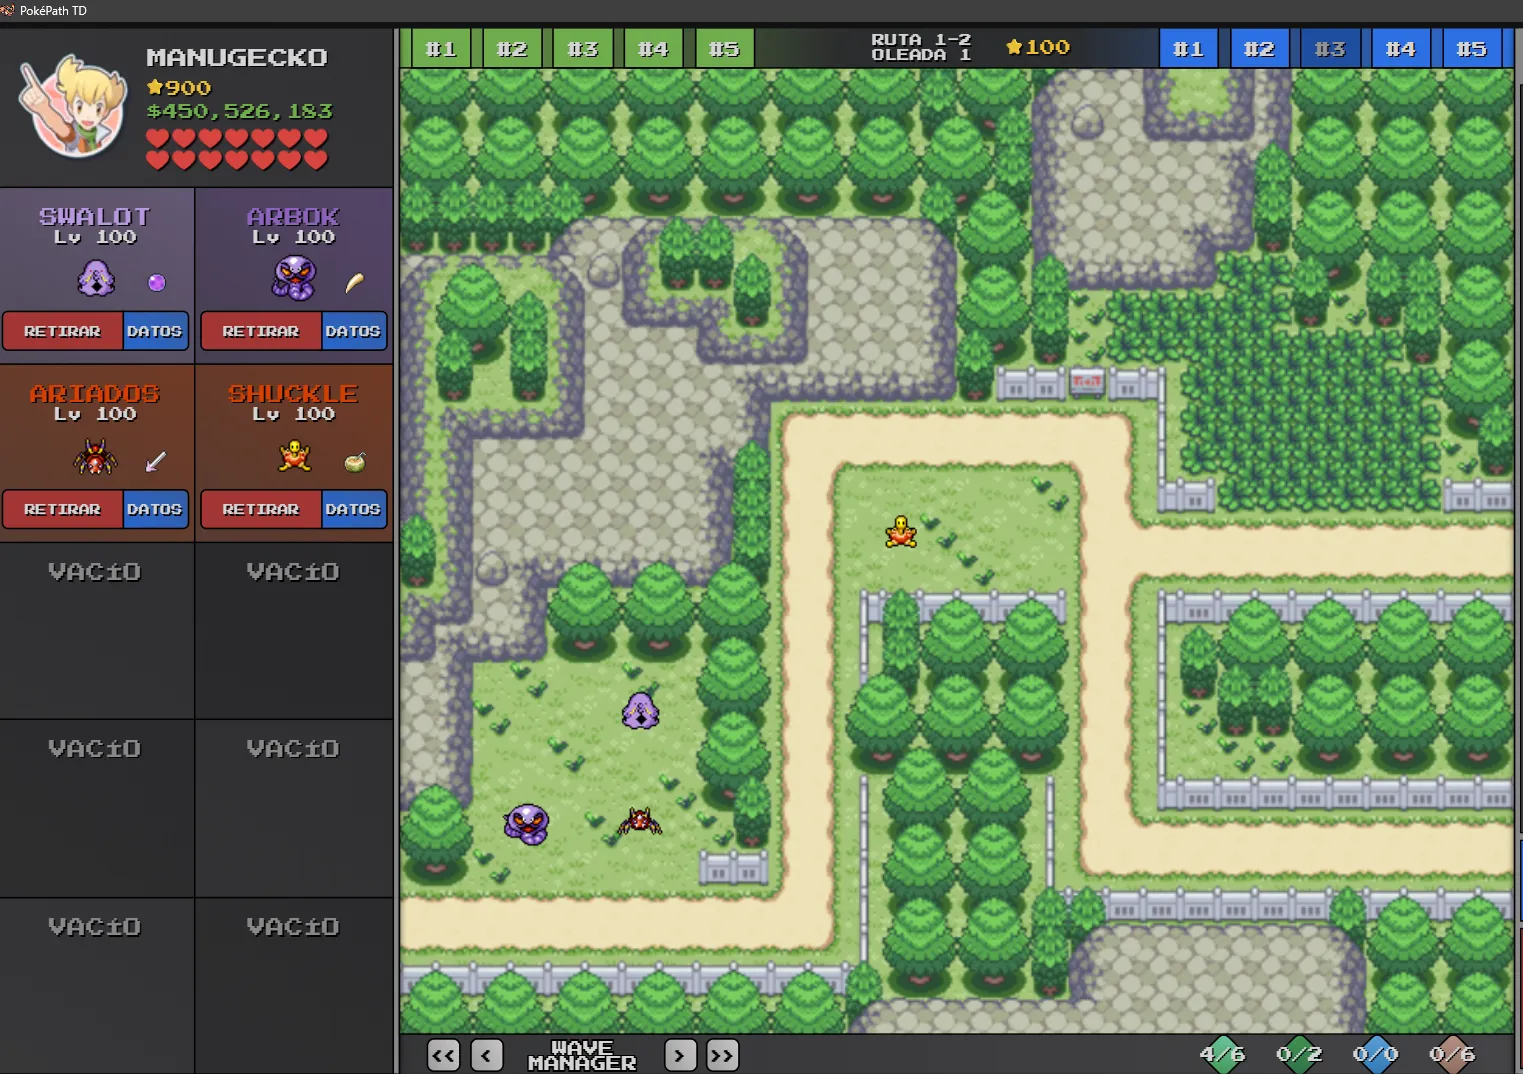
Pre-Boss Team (Waves 1-99)
Boss Team (Wave 100)
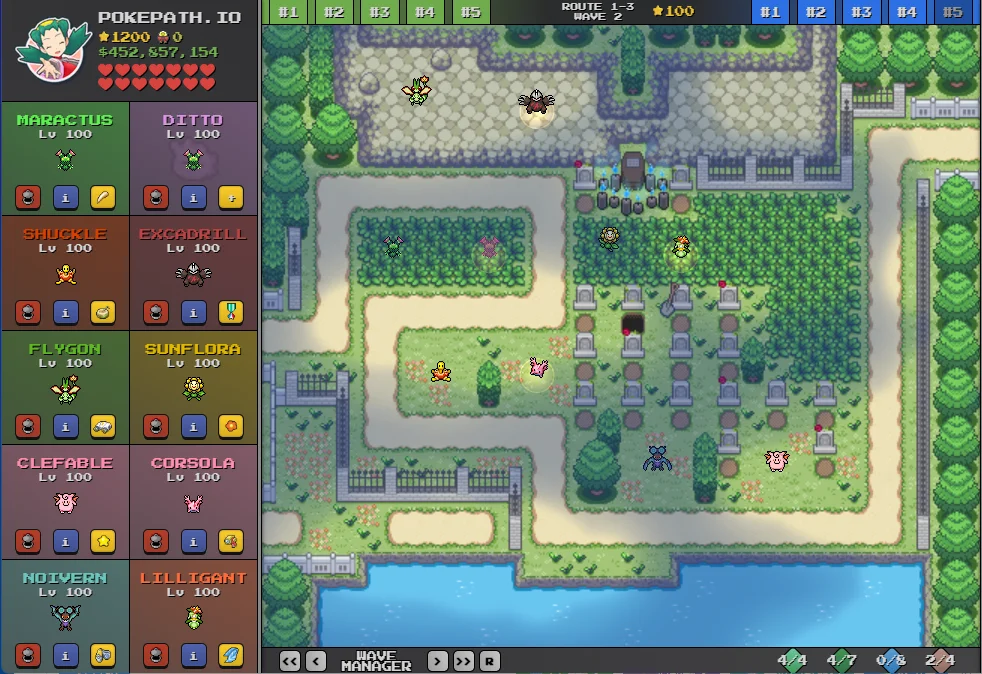
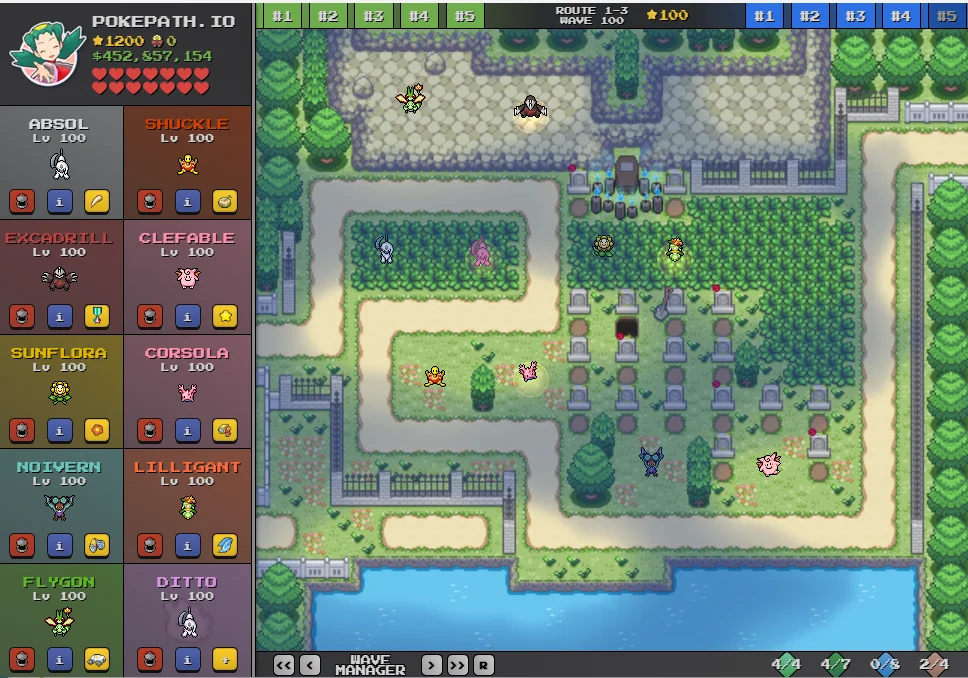
Route 1-3
Pre-Boss Team (Waves 1-99)
Boss Team (Wave 100)
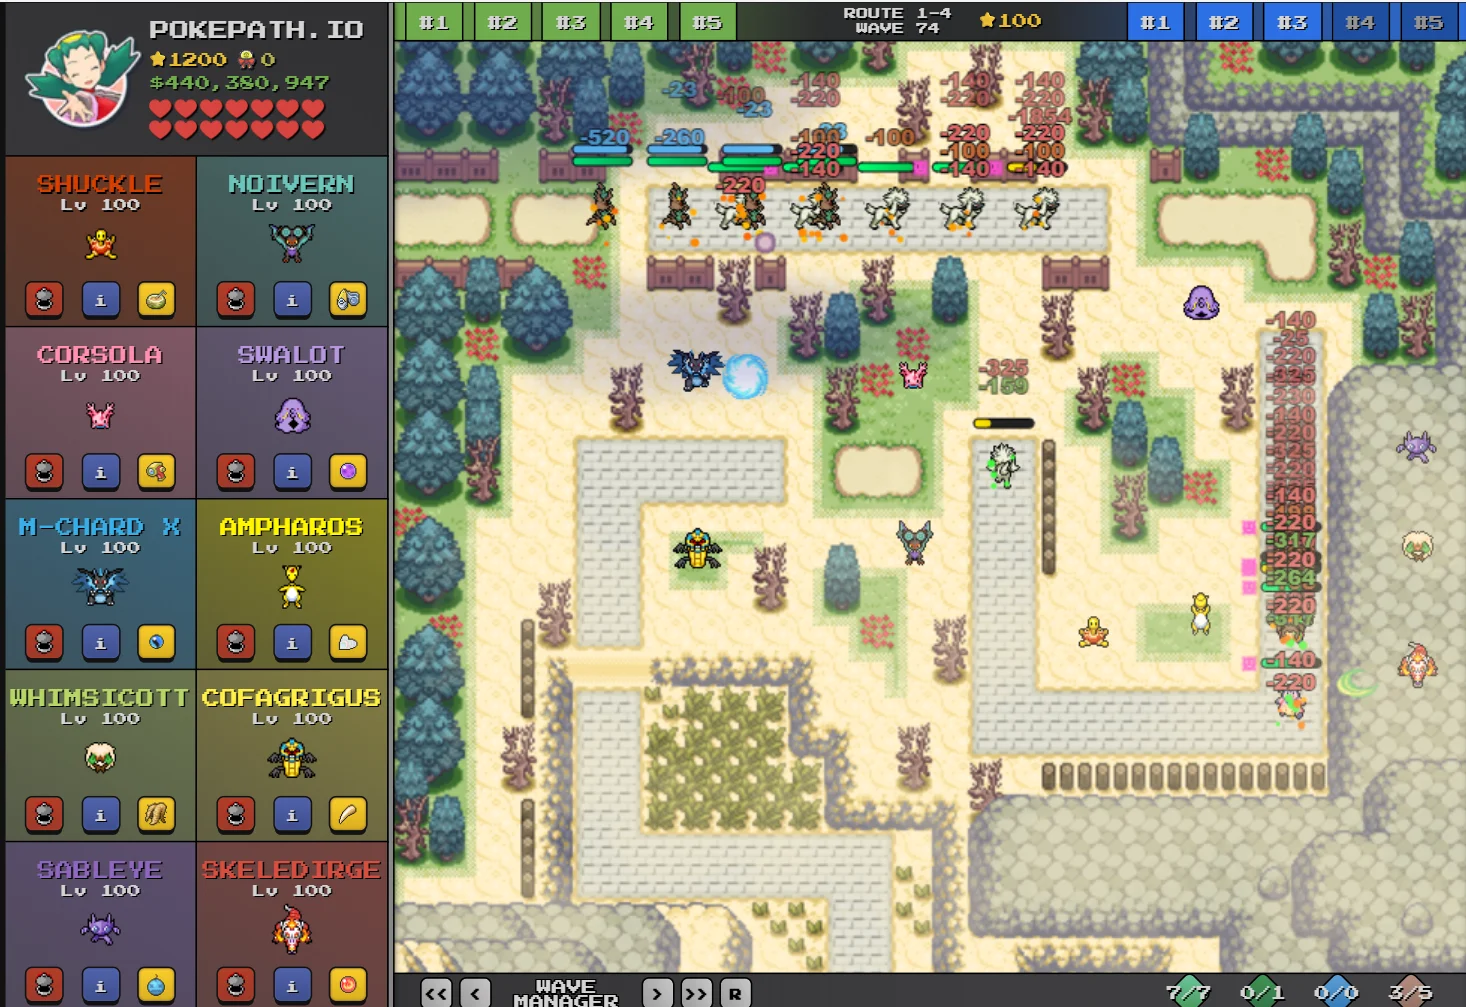
Route 1-4
Pre-Boss Team (Waves 1-99)
Boss Team (Wave 100)

Route 2-1
🎯 No builds submitted yet for this route. Be the first to contribute your strategy!
Route 2-2
🎯 No builds submitted yet for this route. Be the first to contribute your strategy!
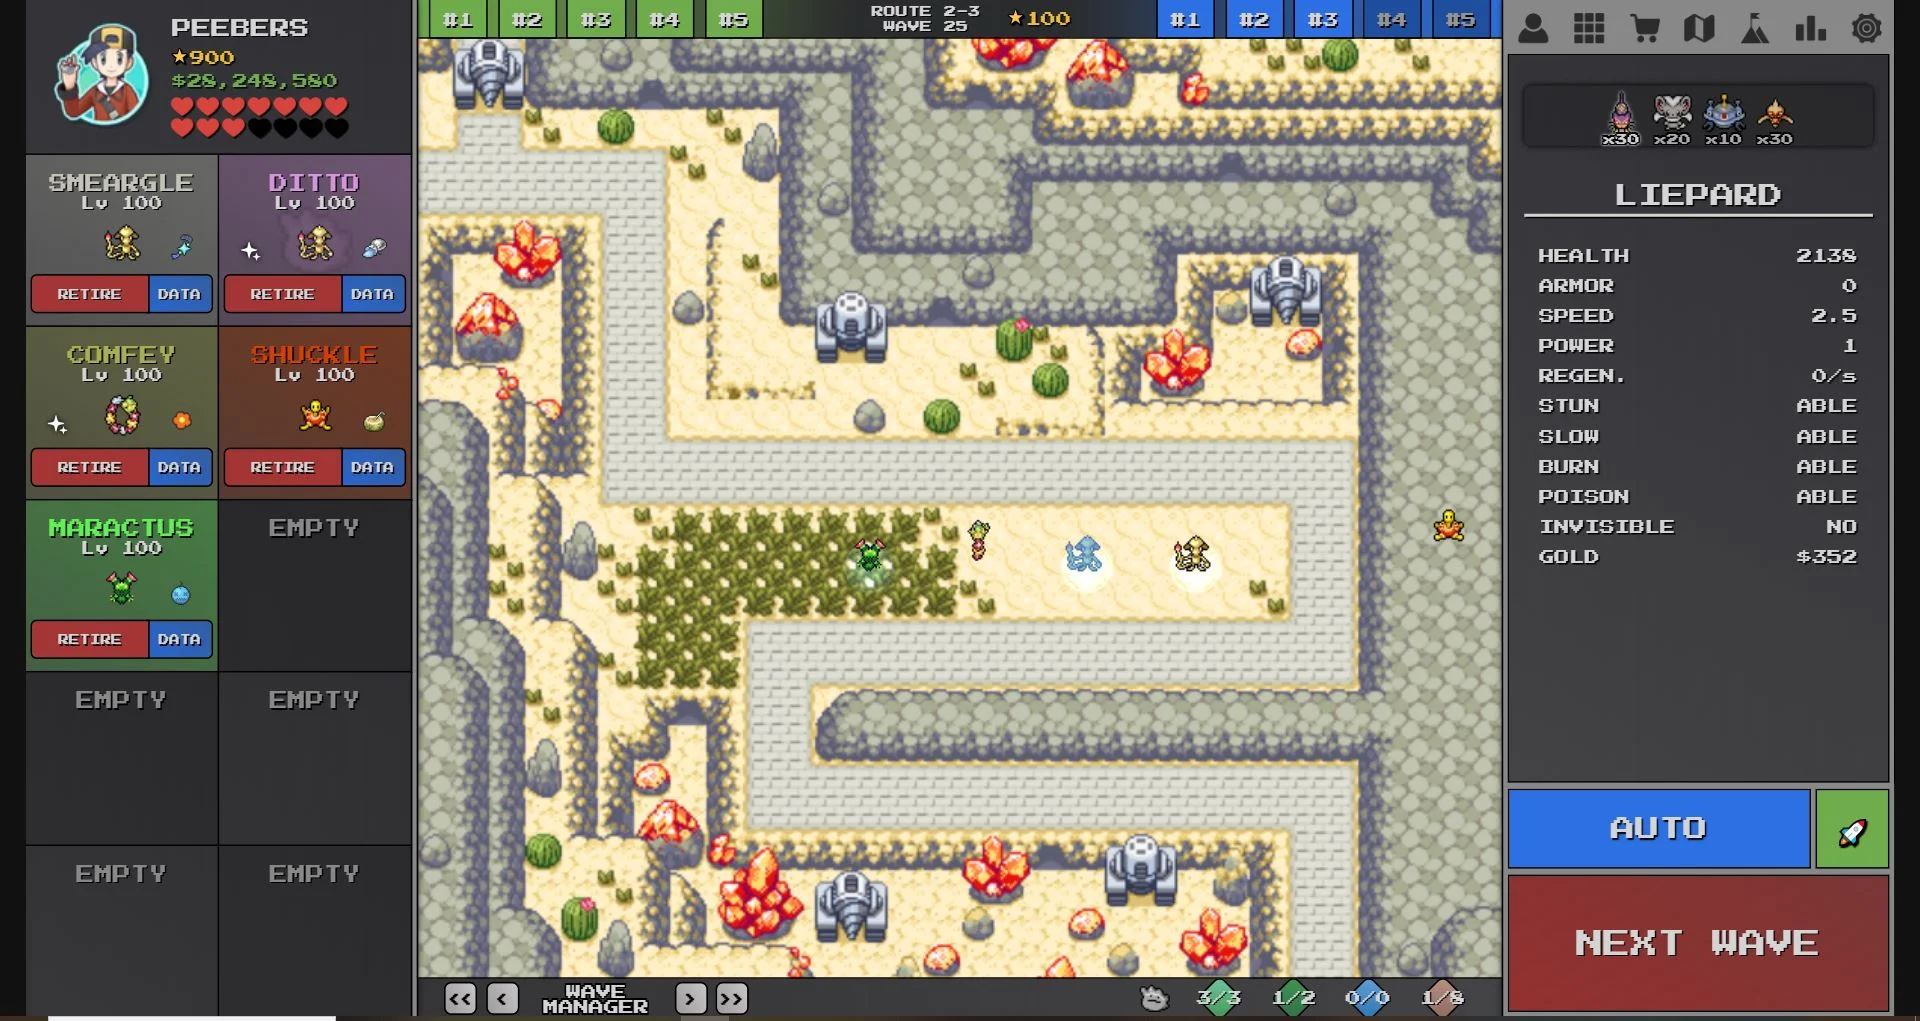
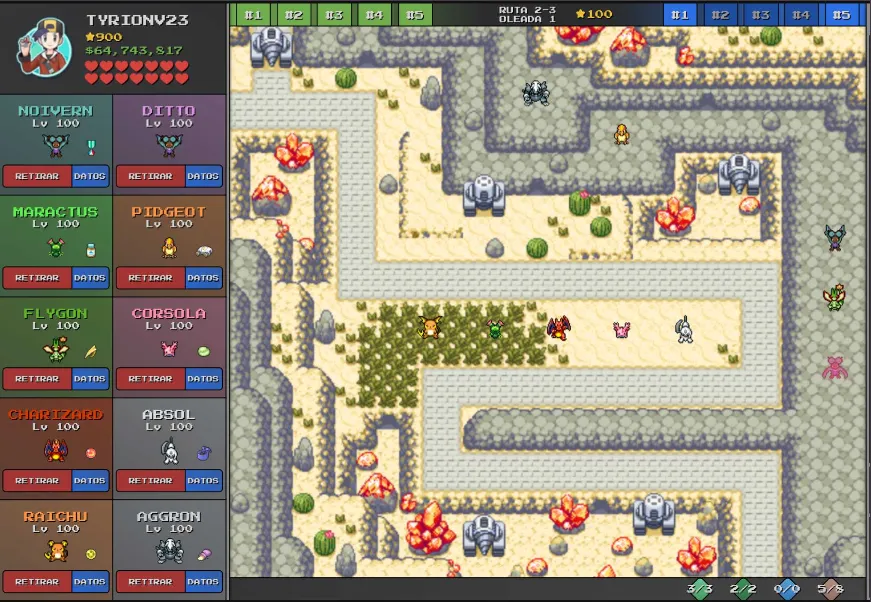
Route 2-3
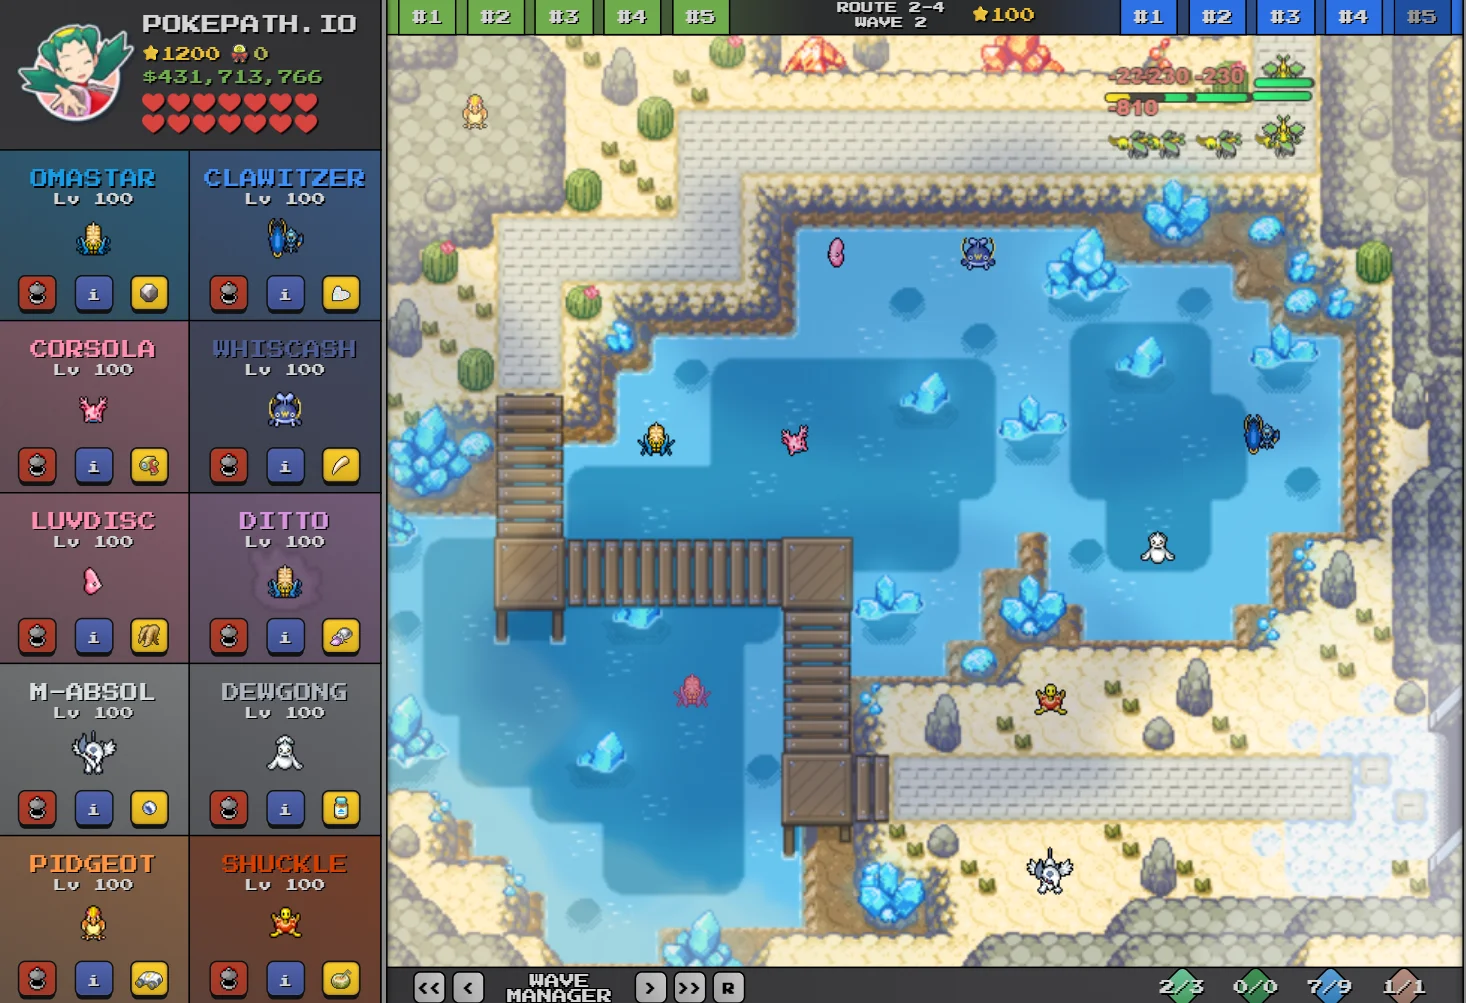
Route 2-4
Route 3-1
🎯 No builds submitted yet for this route. Be the first to contribute your strategy!
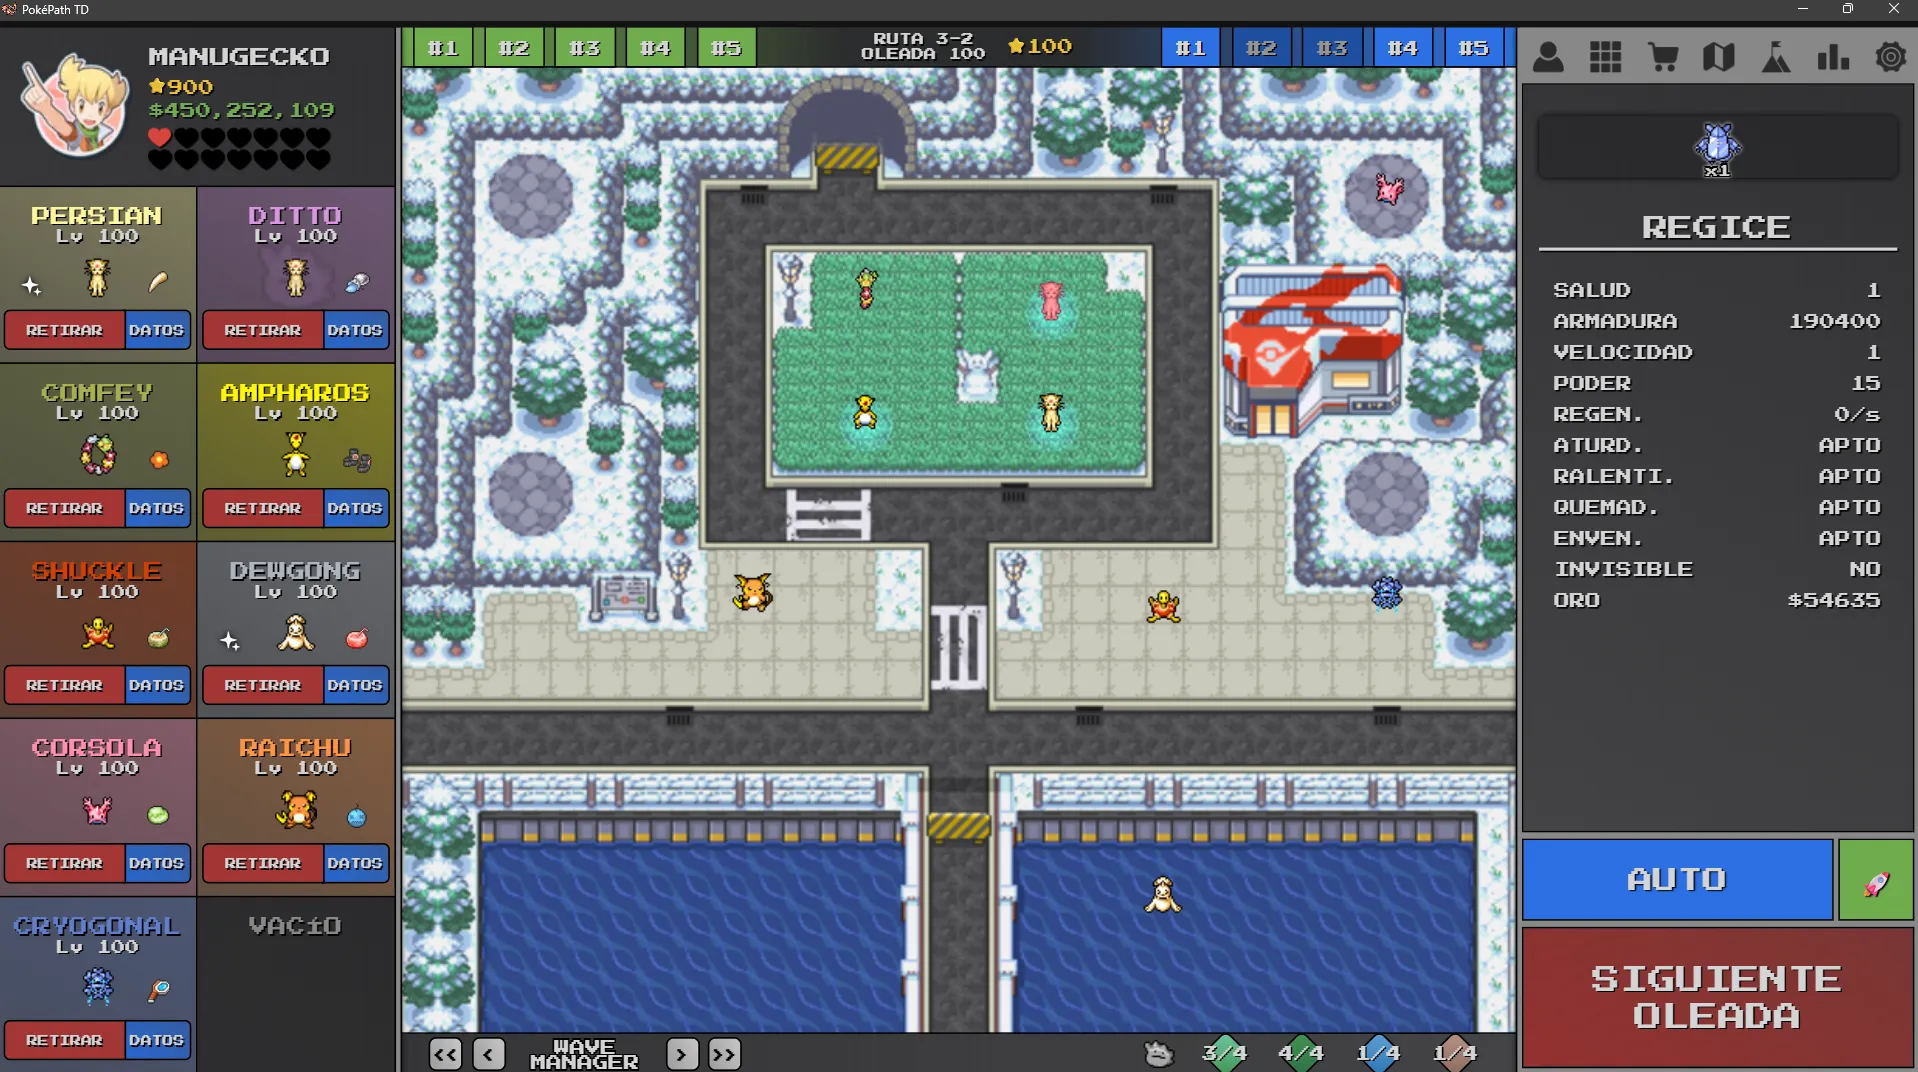
Route 3-2
🎯 No builds submitted yet for this route. Be the first to contribute your strategy!
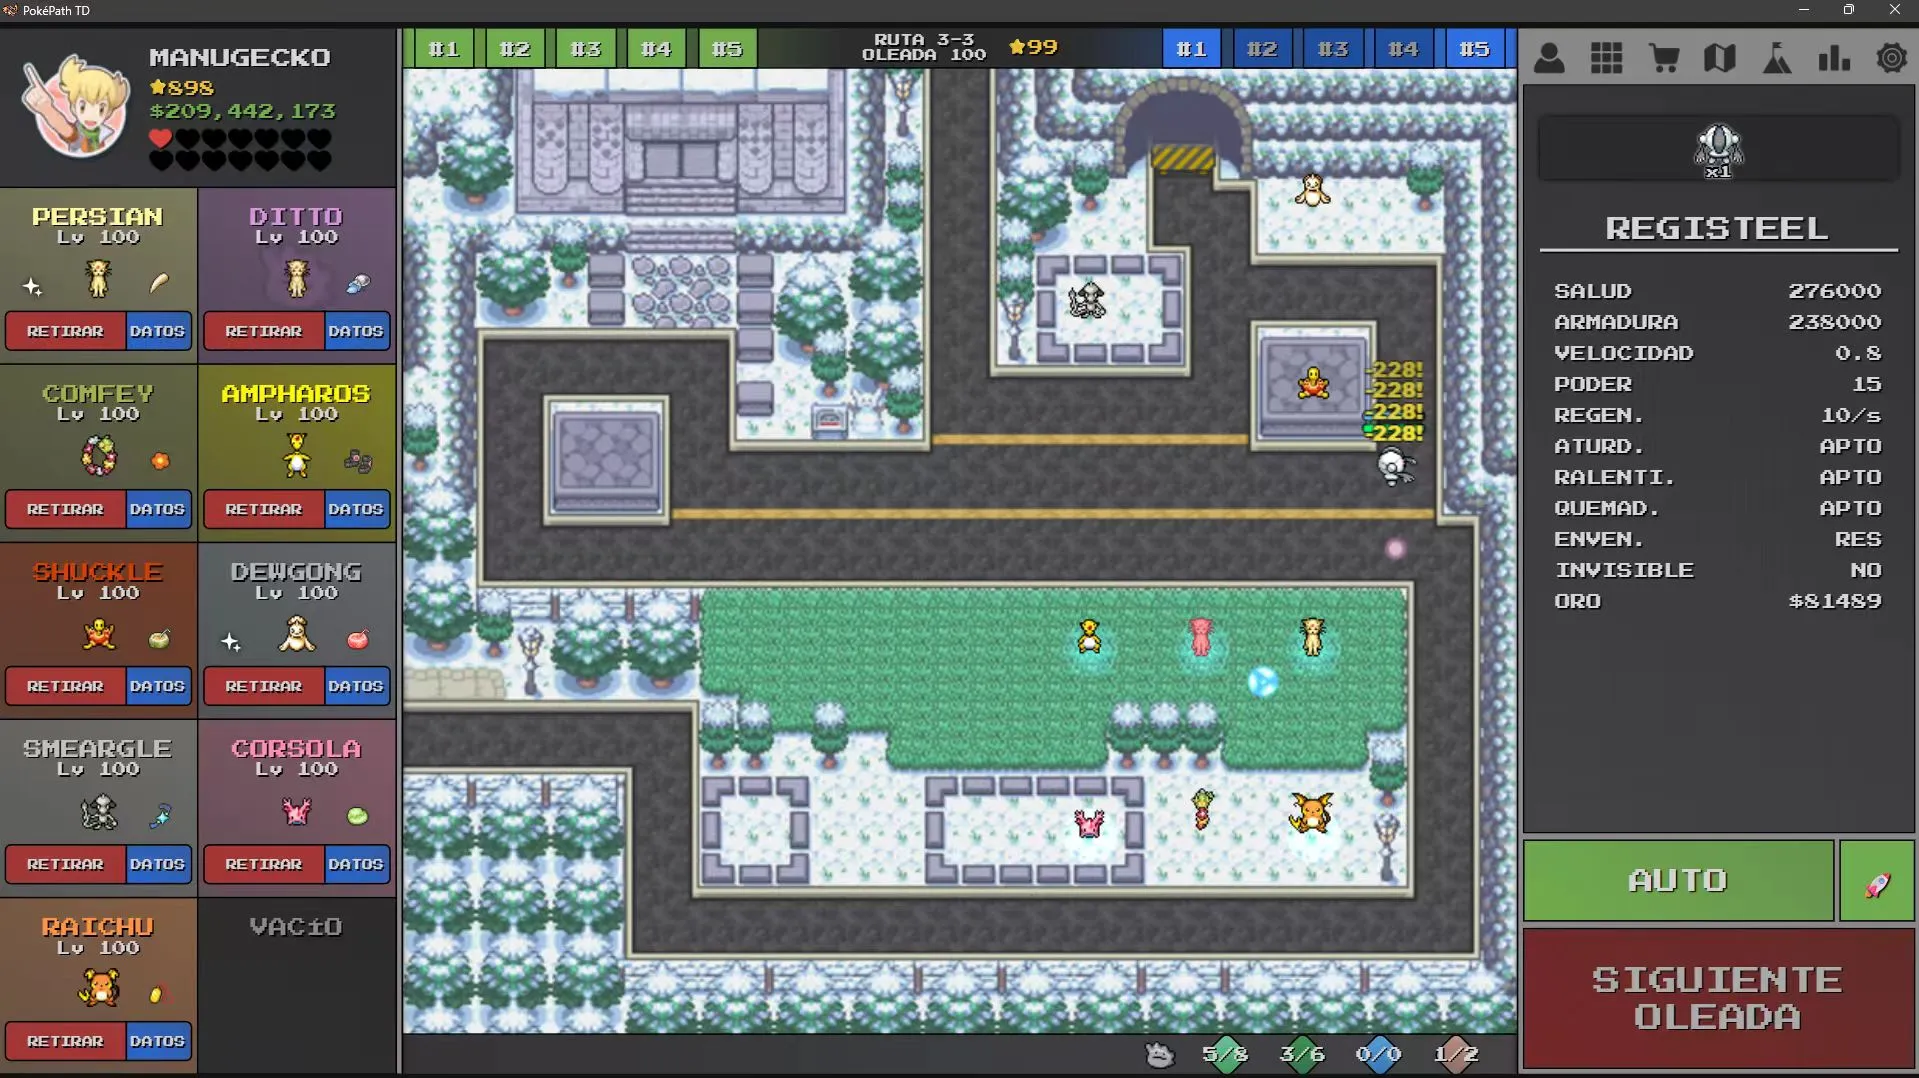
Route 3-3
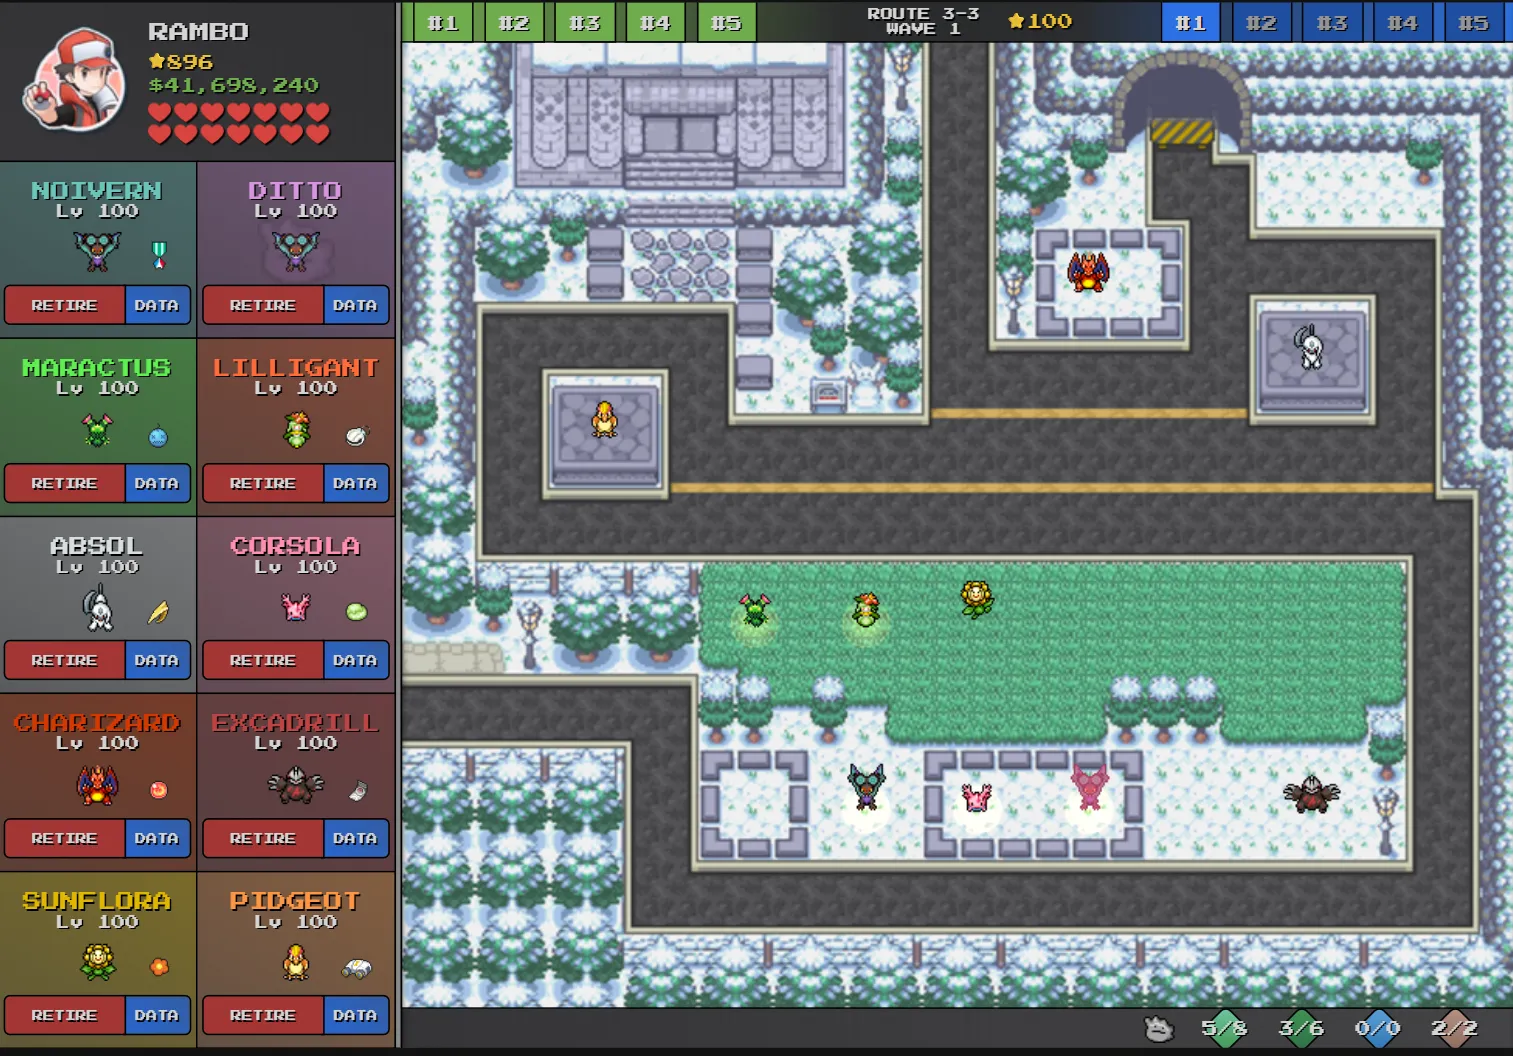
Pre-Boss Team (Waves 1-99)
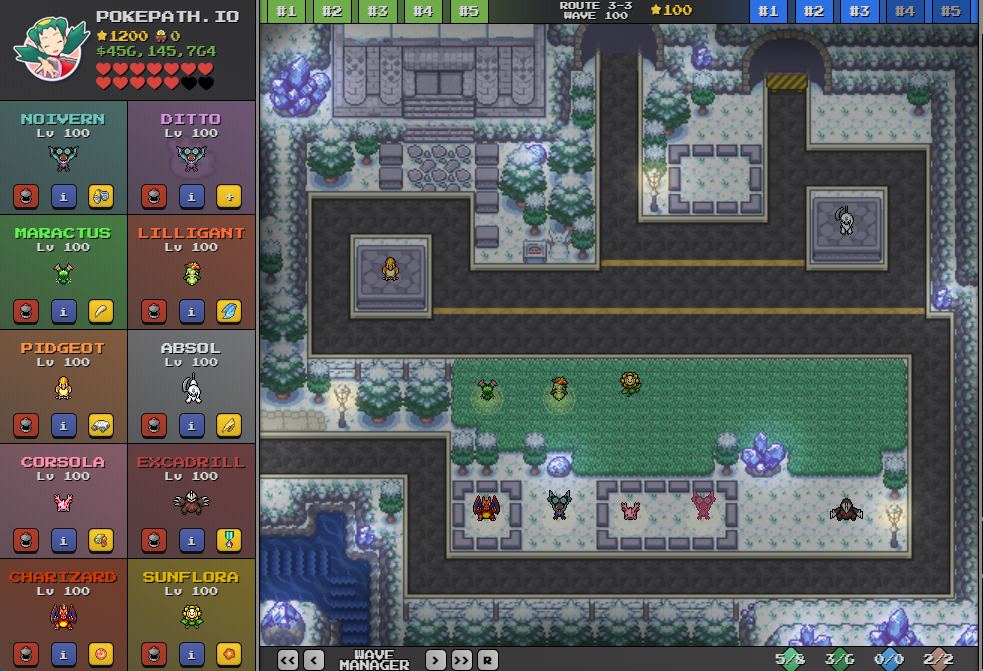
Boss Team (Wave 100)

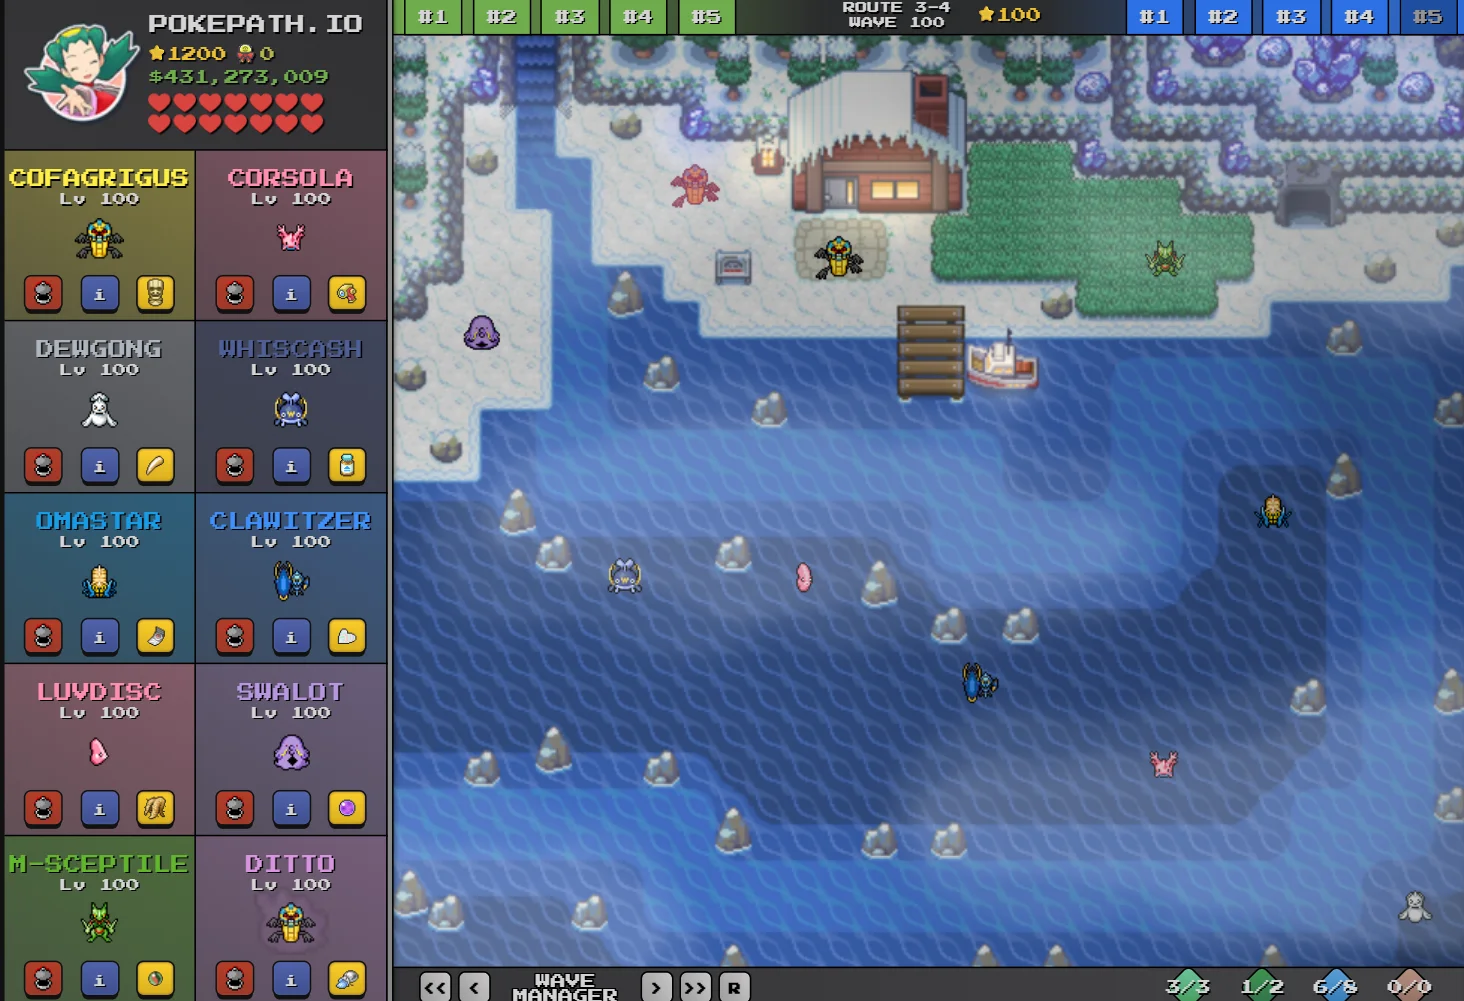
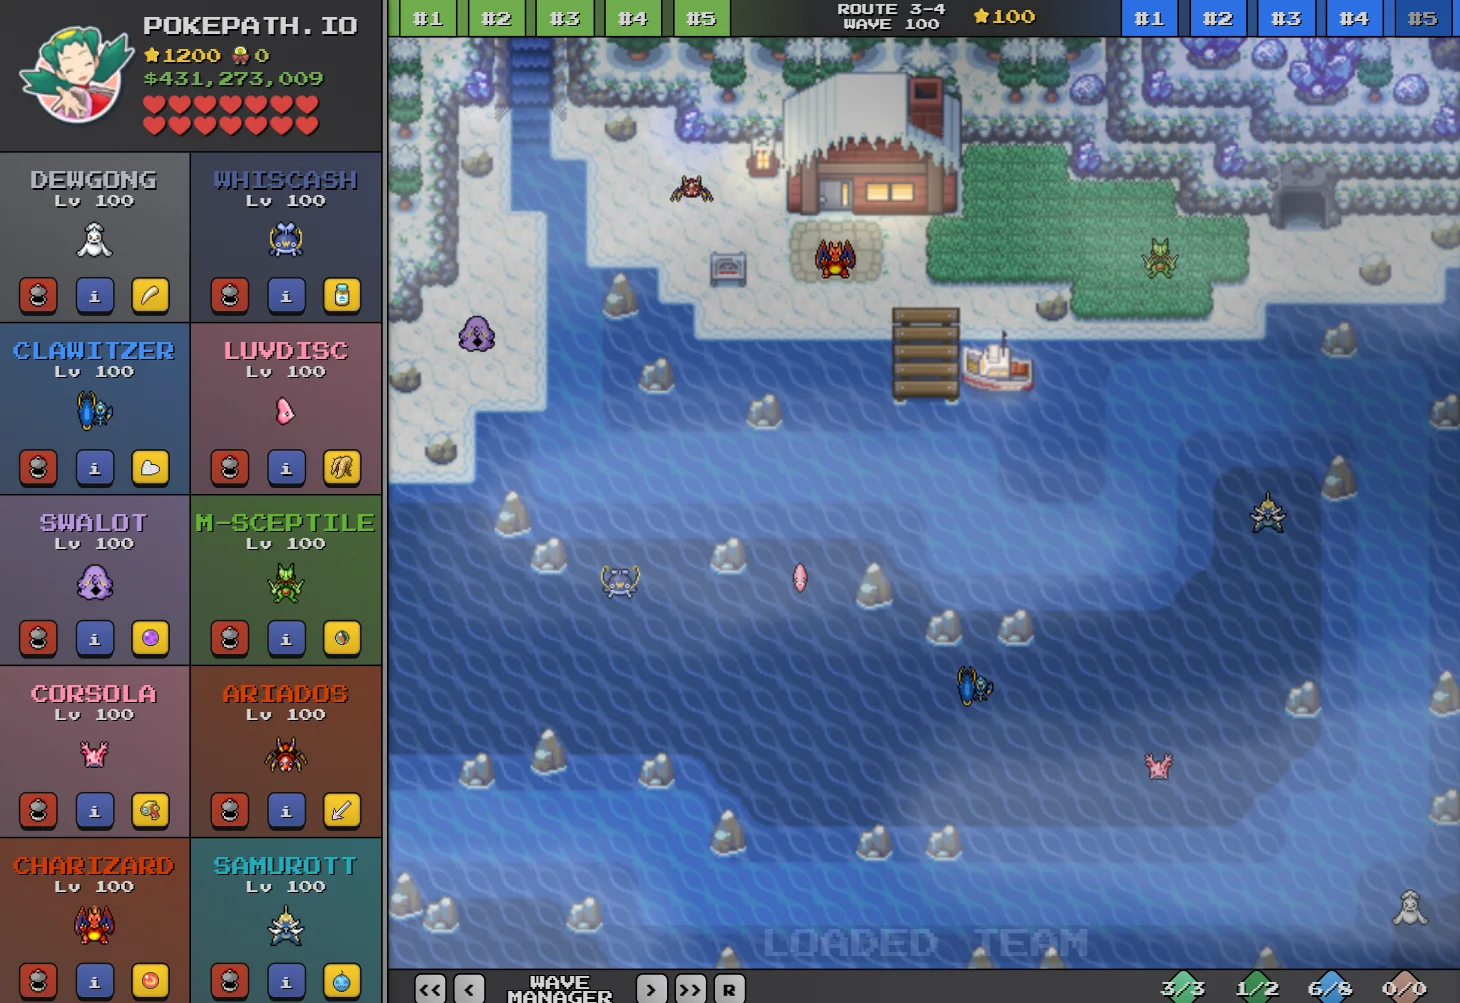
Route 3-4
Pre-Boss Team (Waves 1-99)
Boss Team (Wave 100)
Farming Team
Shiny Farm